LightCare
RX 1 QUICK START GUIDE
PREPARATION
ASSEMBLY

Step Two
Install Arms
Attach Base to Posts

Step Two
Remove Rear Panel of Arm Unit
Remove Rear Panel of Arm Unit

Step Two
Install Arm Unit To Top Post
Attach Arm Unit To Top Post

Step Two
Attach Head Unit
Attach Head Unit
Get Full Manual
A full printed manual will be included in the container with your RX system. If you'd like to get a jump on things email your sales affiliate for a digital copy in advance.
The Tools You'll Need
► Philips #2 Screwdriver
► A Pair of Scissors
► A 2nd Set of Hands
More Tips • More Answers
Get more tips & answers here
Submit Support Request
Need more help? Submit a support request here
EASY OPERATION
Turn On

Position Light
Set Timer

Press 'Start'

Located on the back of the RX 1
Tilt head at desired treatment area
Up/Down buttons on front of RX 1
Blue button on front of RX 1

Relax & Enjoy

Let Red Light therapy help
your body heal itself

Preparing For Your RX 1
• Guidance: A full printed manual is included with your RX system.
You may wish to read through the manual before your unit arrives. This will let you know what to expect and help decision making about location, ensuring a suitable power source, adequate door clearances etc. Request a digital manual (PDF) from your sales affiliate.
• Guidance: It is wise to decide in advance where the unit will be uncrated and assembled –– a large open space is recommended.
• Guidance: Typically a standard adjustable massage table works well with RX systems
• Guidance: Using an optional 'Hospital Grade' receptacle will help protect your RX unit from potentially harmful power surges.
• Guidance: Best case is that your RX be run on its own electrical circuit. If that is not possible, then a circuit with a light electrical load.

• Caution: Your RX should never share a circuit with larger appliances that cycle on and off such as a Refrigerator or an Air Conditioner.
Such appliances draw large electrical loads when they cycle on –– which can negatively impact the operation of your RX causing pre-mature maintenance and shortened product life.
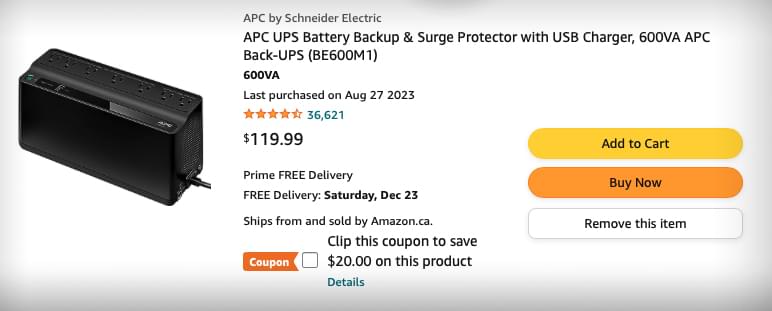
• Important Guidance: For the sake of your investment, it is highly recommended that a good quality UPS (Uninterruptible Power Supply) be used to protect your RX's critical electrical components in case of local transitory power sags and brownouts (every jurisdiction has them). Damage resulting from local electrical issues is not covered under warranty.
UPS units can be purchased at Staples, Amazon and similar sources at well below $200.

When Your RX System Arrives
• Once your RX has been shipped, your sales representative will provide an approximate date of delivery.
• Closer to arrival, the shipping company will call to confirm an exact day & approximate time of delivery.
Very Important:
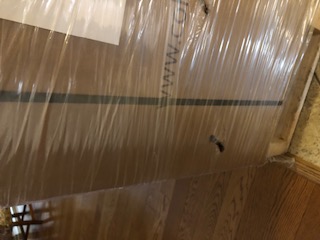
Before you accept your RX System from the shipping company please check to ensure that there is no visible damage to the shipping container –– preferably while it is still on the truck. If there is any damage to the container do not accept it.
It's a good idea to note any damage (no matter how minor) on the waybill. Click here for a delivery Check List.
• Standard practice is for the shipping container to be left at your door. It will be your responsibility to position it where it will be assembled and/or used.
Unboxing
• Guidance: It is best to unload contents in a roomy area close to where you will be using the Rx
• Guidance: A second set of hands is recommended
• First cut off the black straps and remove the hard white cardboard corners. Then use scissors or a flat head screwdriver to remove the large industrial staples holding the box together.
• There are 9 items in the container:
Layer 1 contains: 1 Small Parts Box* • 1 Rx1 Head Unit
Layer 2 contains: 1 Red Plexiglass Shield • 1 Arm UNIT • 3 Vertical Posts • RX1 Base Unit (with pre-installed casters)
* The Small Parts Box contains: RX1 Manual • A Power Cable • Screws Needed For Assembly • Two Pairs of Opaque Black Goggles
ON DAY OF DELIVERY
★ The freight company responsible for your delivery should call you to confirm approximate time of delivery
★ At that time Buyer should ask for drivers full name and confirm that he/she will have the Bill of Lading with them. Please confirm with the freight company that delivery will not be accepted without an accurate Bill of Lading
AT TIME OF DELIVERY
★ RX Systems are fairly heavy so it is best to perform your damage inspection while the shipping crate is still on the truck rather than in your place of business or home
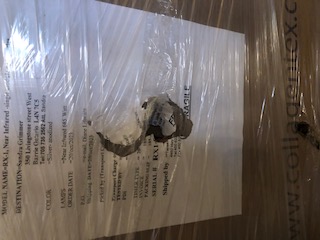
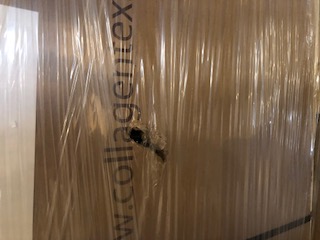
★ Buyer should NOT accept the item if the box is damaged → please see examples of what a damaged box looks like here
★ Do not allow the driver to bring your RX System into your place of business or home until you have examined the box for damages and are satisfied that there is no visible damage.
★ Assuming you are satisfied you can sign the bill of lading that everything is appears to be in good order. The layout of the Bill of Lading will vary by company –– sign in a blank area with comments. See an example here
★ Please ensure you get a copy of the signed bill of lading
REPORT STATUS OF DELIVERY
Please advise your LightCare RX Sales Associate:
► SHIPMENT ACCEPTED
The shipment received and all is well
or
► SHIPMENT NOT ACCEPTED
1) The shipping crate was damaged
or
2) The driver did not have a bill of lading
Your Sales Affiliate will immediately report the status of your order to LightCare Connects for any follow up action necessary
Tools You Will Need
Philips #2 Screwdriver
A Pair of Scissors
A 2nd Set of Hands
Component Images
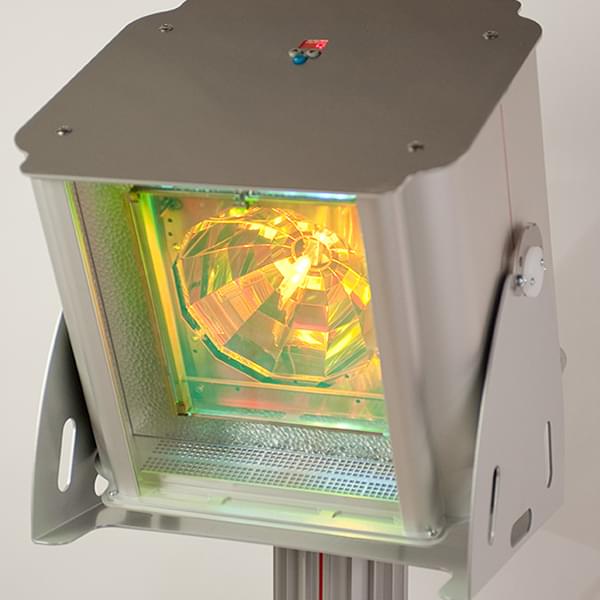
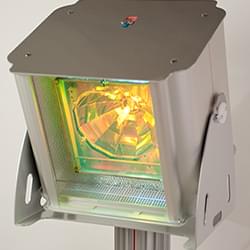
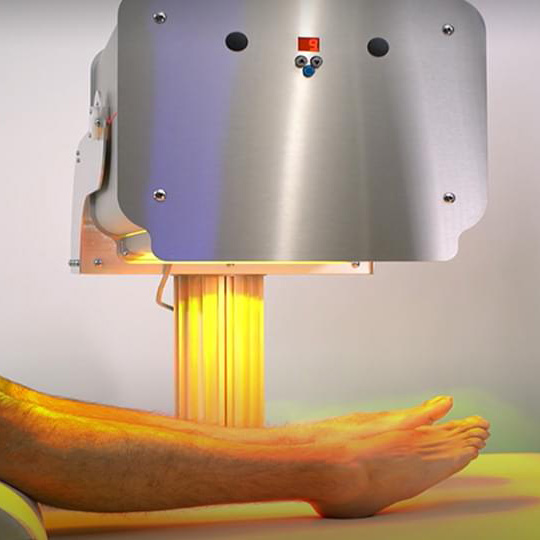
RX Head Unit
RX Base Unit
Vertical Posts

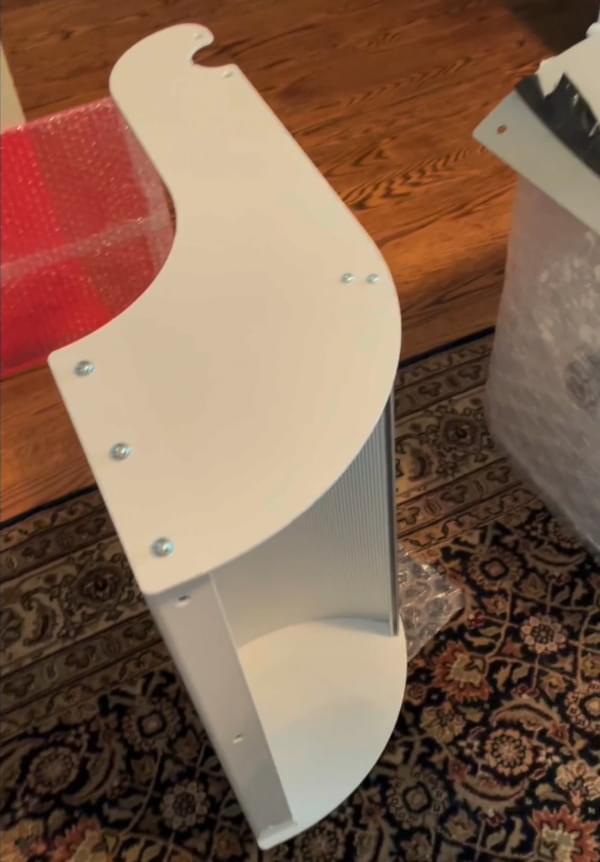
Arm Unit (back removed)
Plexiglass Shield
Hyperplasma Light
Source Plus User
Controls
Pre-installed Casters
for Mobility
Post Sections
Use 1, 2, or 3
to set height
Holds Head Unit
in Place
Red Plexiglass
Dust and Fan Shield
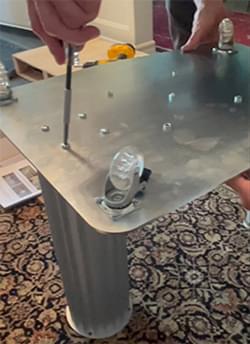
Attach Post To Base
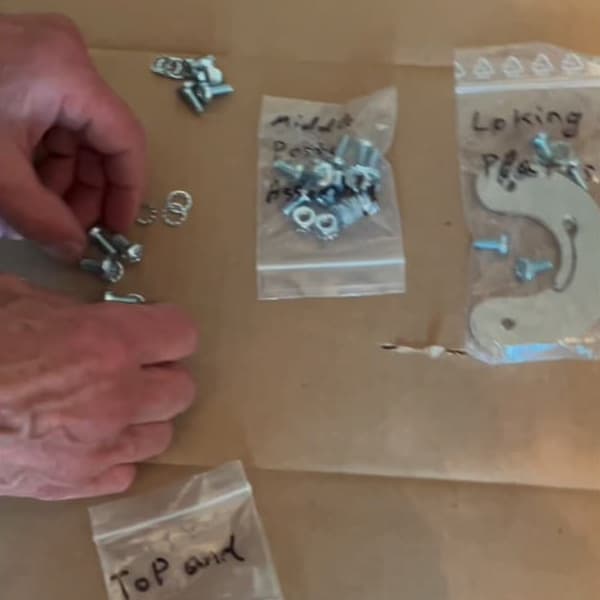
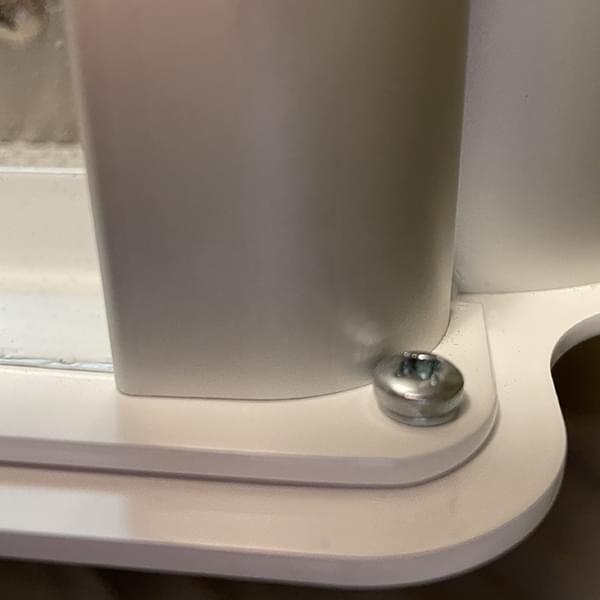
Remove and separate the first set of screws in the plastic bag for the top and base assembly.

The only tool you will need to assemble the RX 1 is a number 2 Philips screwdriver.
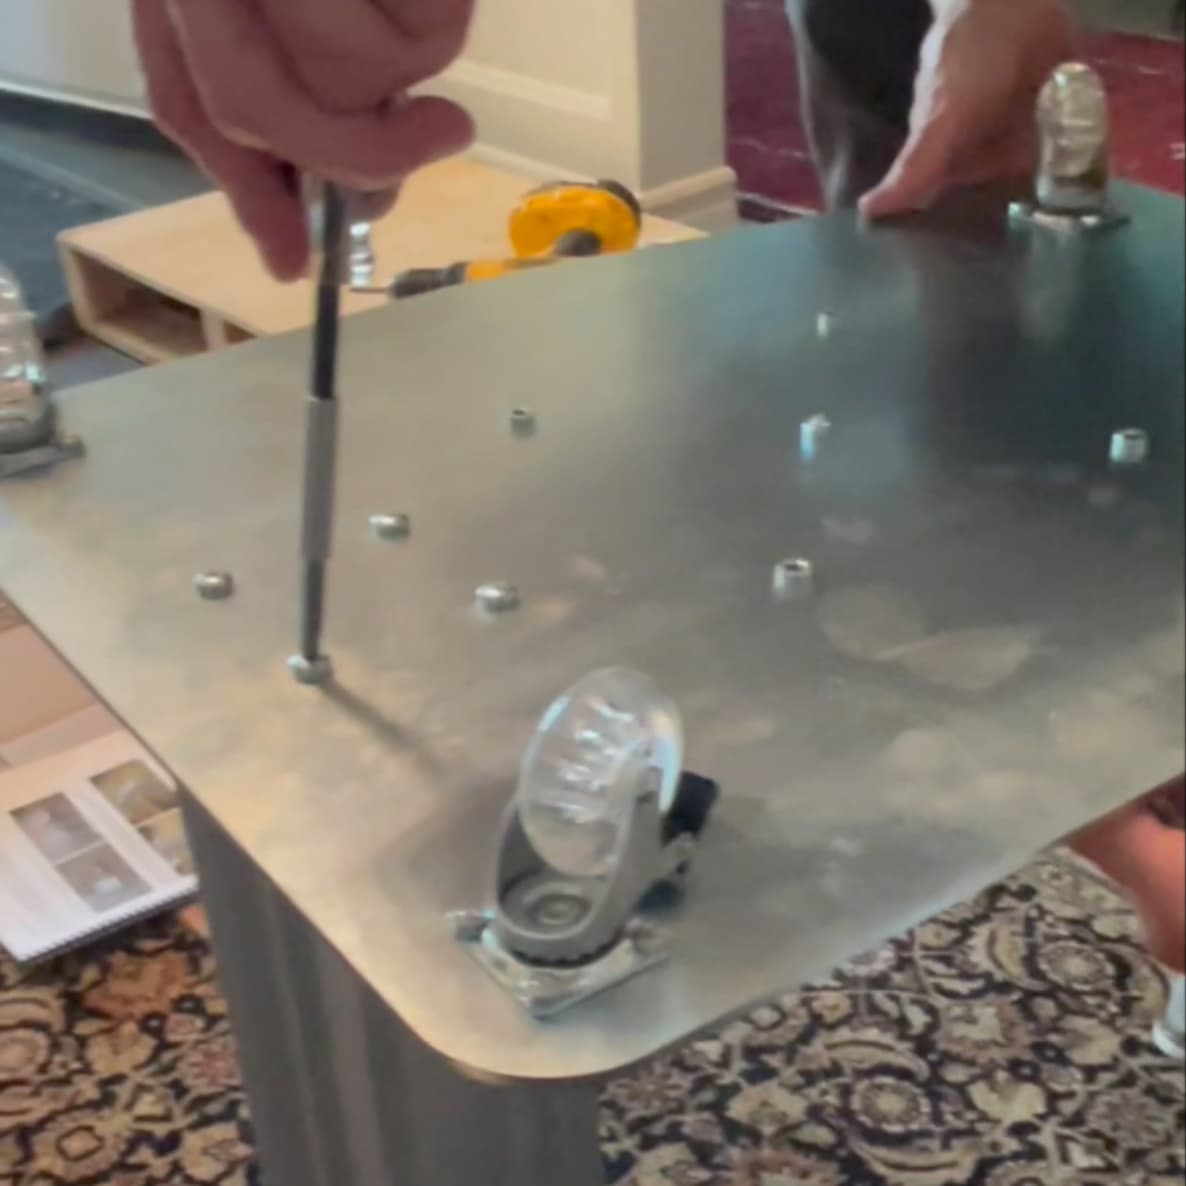
Attach the First Post to the Base Unit as shown. Make note that one caster (pre-installed) has a locking mechanism.
Next Step: Removing the Arm Unit's rear panel to prepare for attaching it to posts.
Remove Rear Panel From Arm Unit
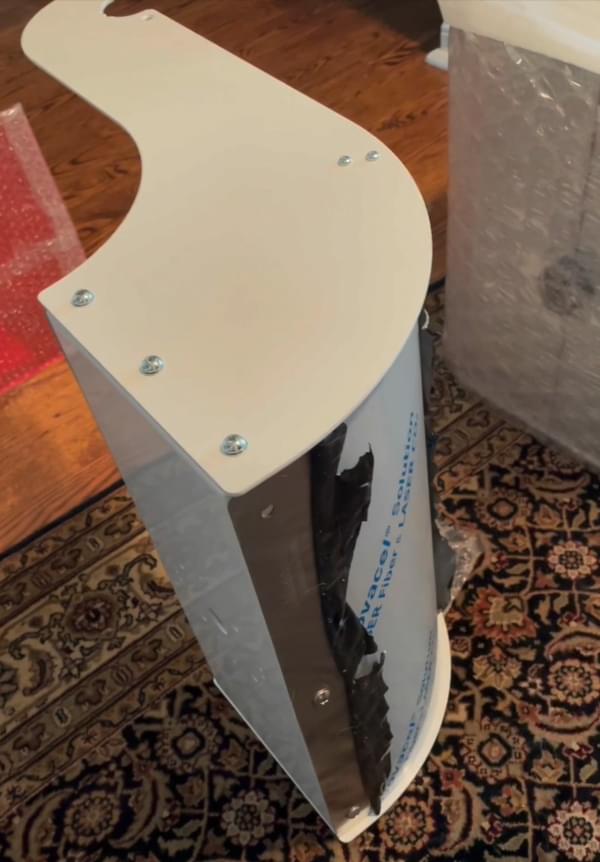
This is the Arm unit as shipped. A thin white plastic cover which protects the stainless rear panel in shipping as been partially removed.
First, remove the back panel of the Arm Unit by removing the three screws indicated on the left side of this image.

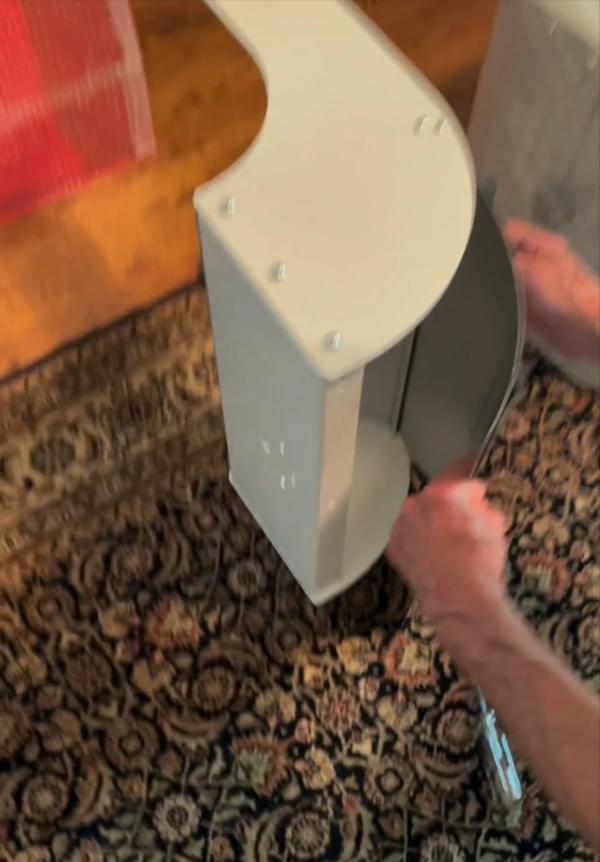
With the Arm Unit's rear panel removed, the pre-drilled holes needed to attach the unit to the top-most post are accessible.
Next Step: Attaching this Arm Unit to the top-most post.
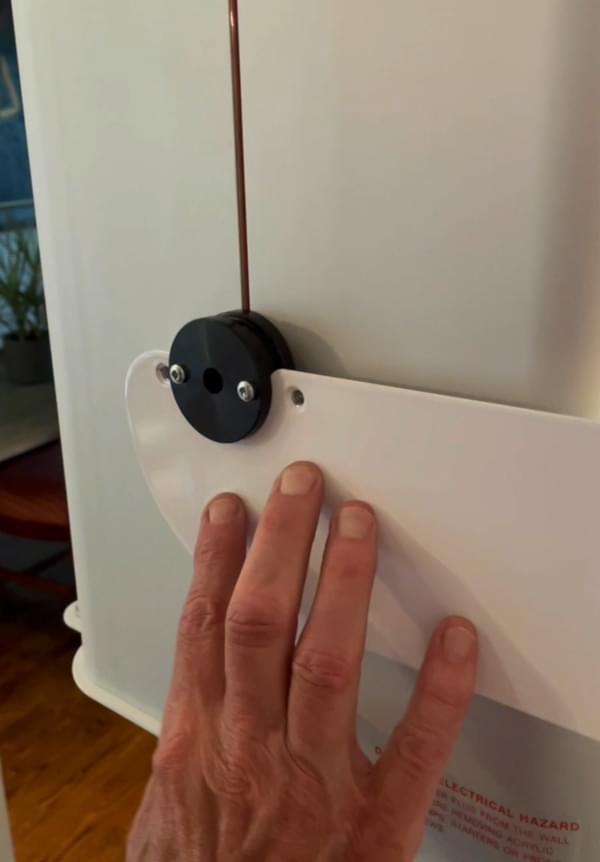
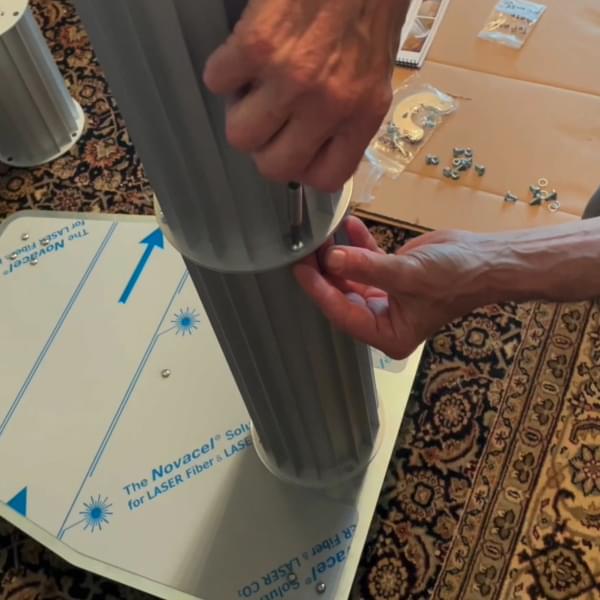
Attach Arm Unit To Top-Most Post
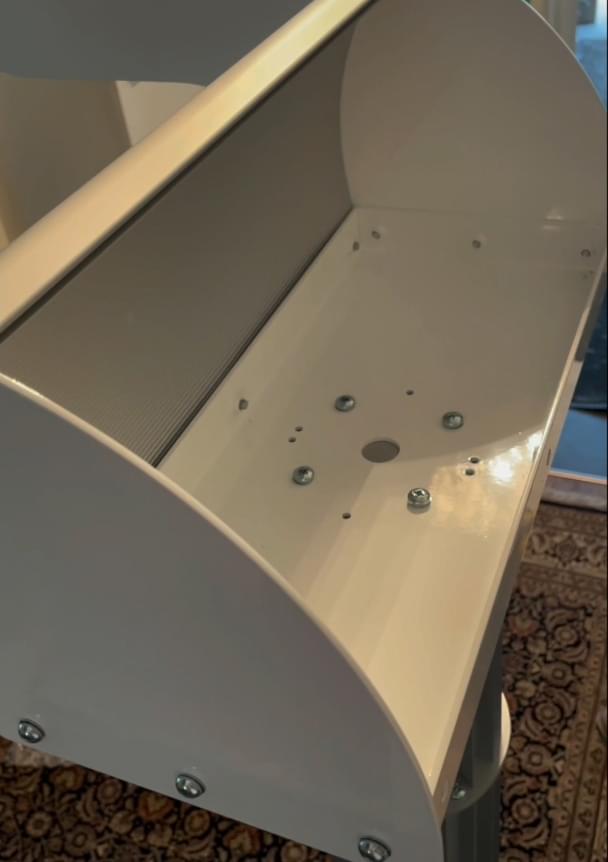
With the rear panel removed, attach the Arm unit securely to the top-most post using provided screws and Philips #2 screwdriver.
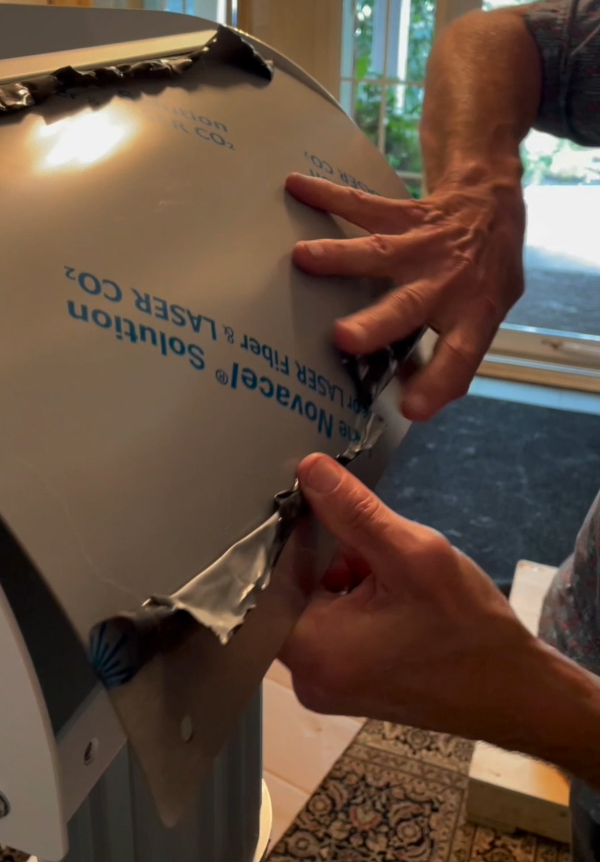
Once attached to post, replace the rear panel of the Arm unit.
Next Step: Attaching the RX Head unit.
The Head unit is the heaviest component of the RX system and a second set of hands is recommended for ease and safety.
Mount RX 1 Head Unit Onto Arm Unit
Guidance: The Head Unit weights 45 lbs. This step is best handled by two people.
Lift the Rx1 Head unit onto the Arm unit.
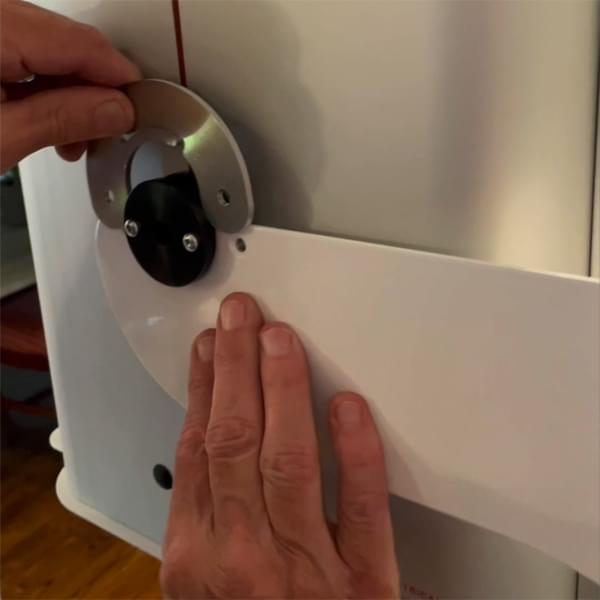
Once the RX1 Head Unit is mounted on the extended side arms, slightly push the arm towards the unit –– to slide locking clip into place and align with screw holes (repeat for other side)
Important Note: Tighten the screws on the plates only. Do not tighten the screws on the black knobs attached to the Rx .
Next: Attach holding plates as shown. These plates keep the Rx1 Head unit in position.
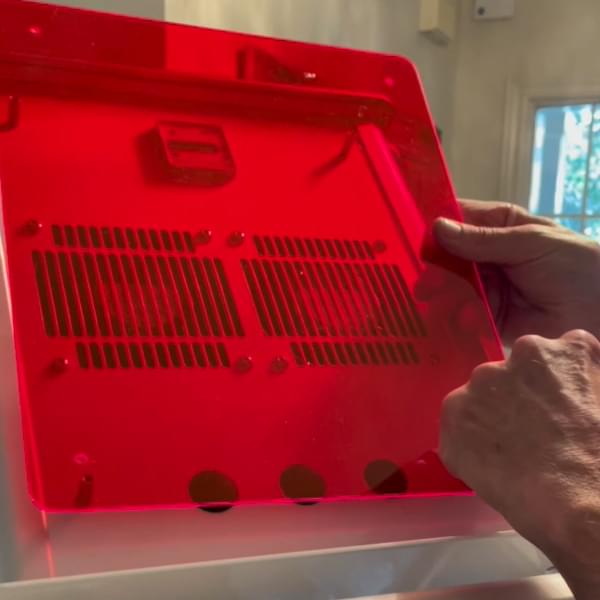
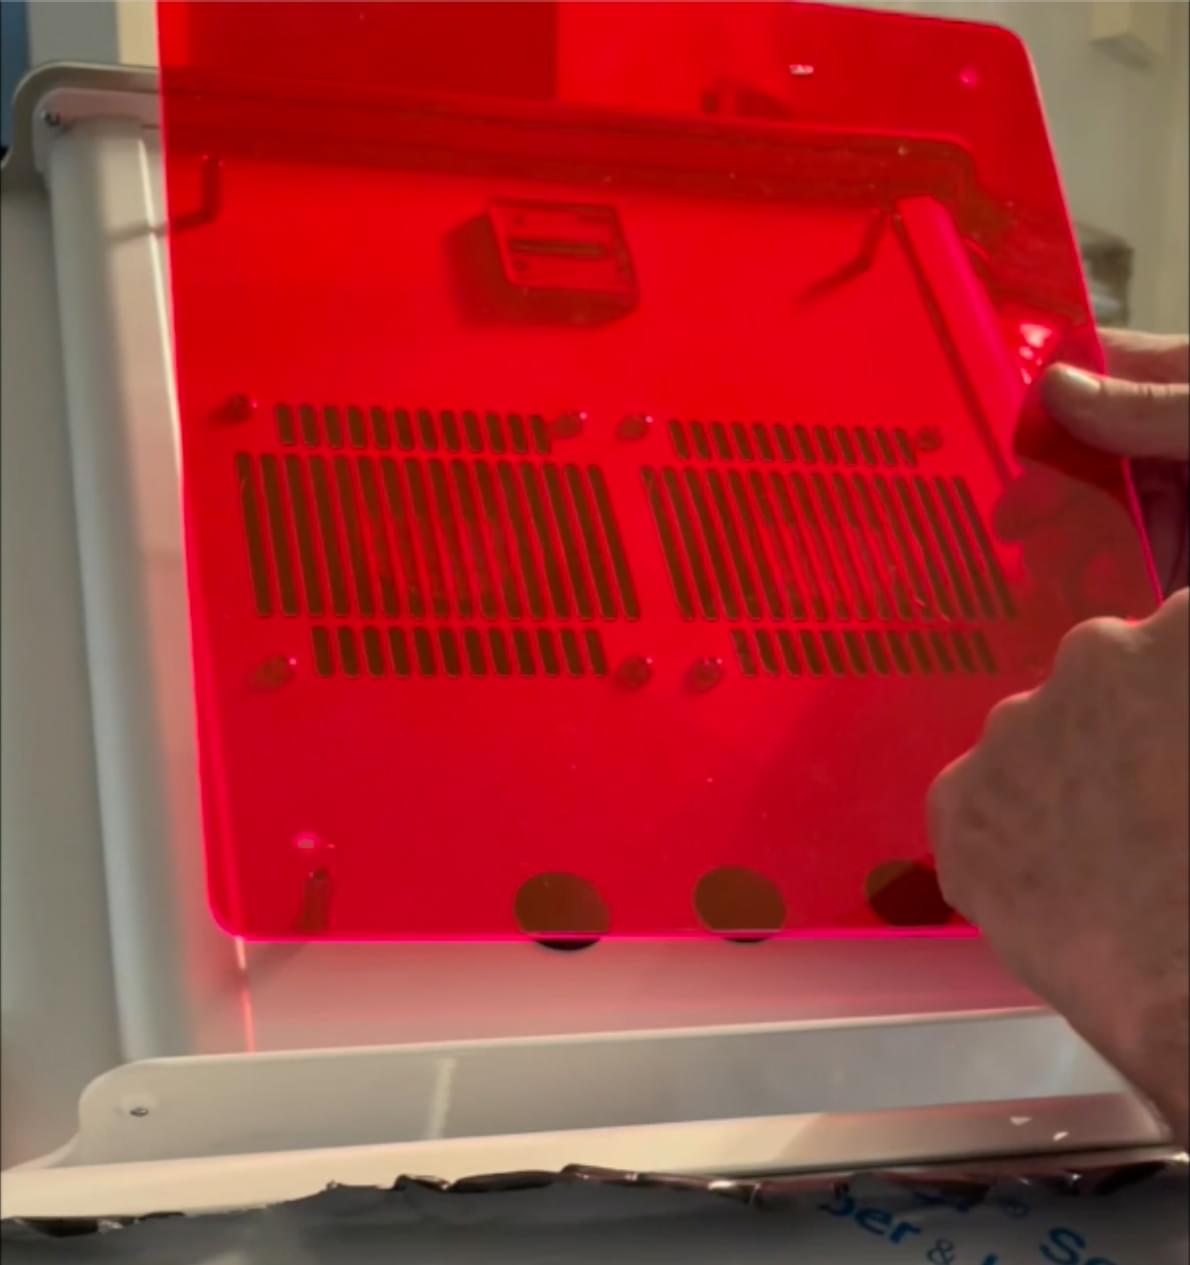
Next: Attach the supplied red Plexiglas panel to the back of the Head unit as shown. This panel is designed to protect the Head unit from dust.
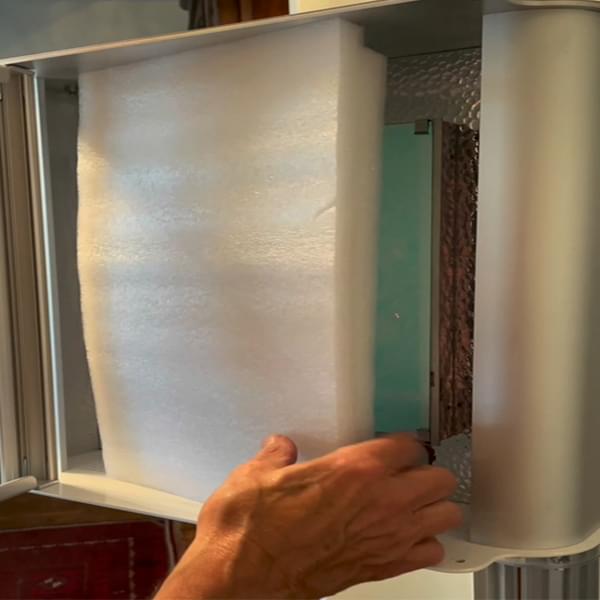
Next: Remove packing material in front of light –– on the front of the Head unit, do this:
1) Remove top and bottom screws (on right hand side facing you)
2) Swing glass door panel open
3) Remove the Styrofoam packing material
4) Close door and re-fasten screws
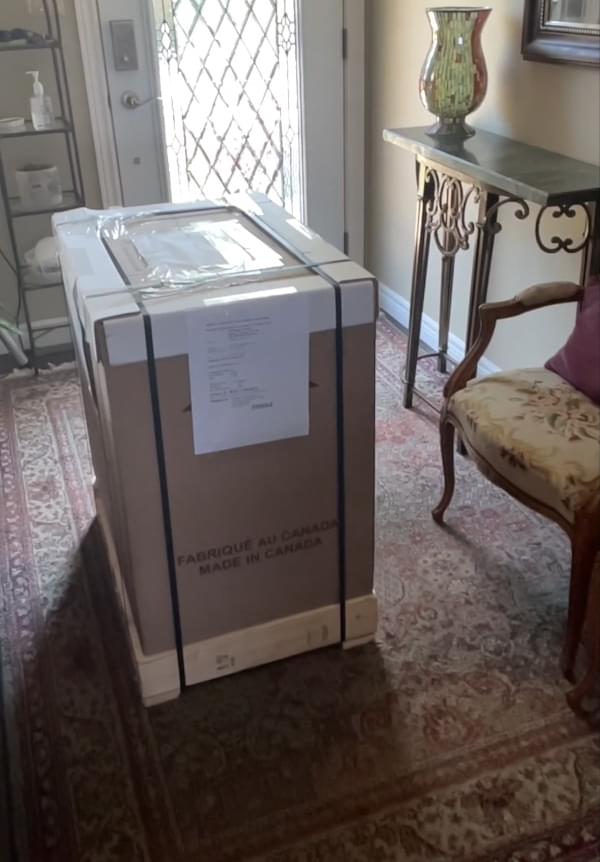
Appromimate Dimensions: 27" h • 31" w • 20" d | Weight: 138 lbs
↓ 8"
Typical shipping damages
Use Philips #2 Screwdriver
Right Side Top & Bottom